Deployment
We will use Vercel to deploy our application. Vercel is a cloud platform suitable for static sites and serverless functions, making it perfect for our Next.js application.
Create a Vercel Account
Go to Vercel and create an account. Import your GitHub account and create a new project from the repository you created in the previous steps.
Configure Environment Variables
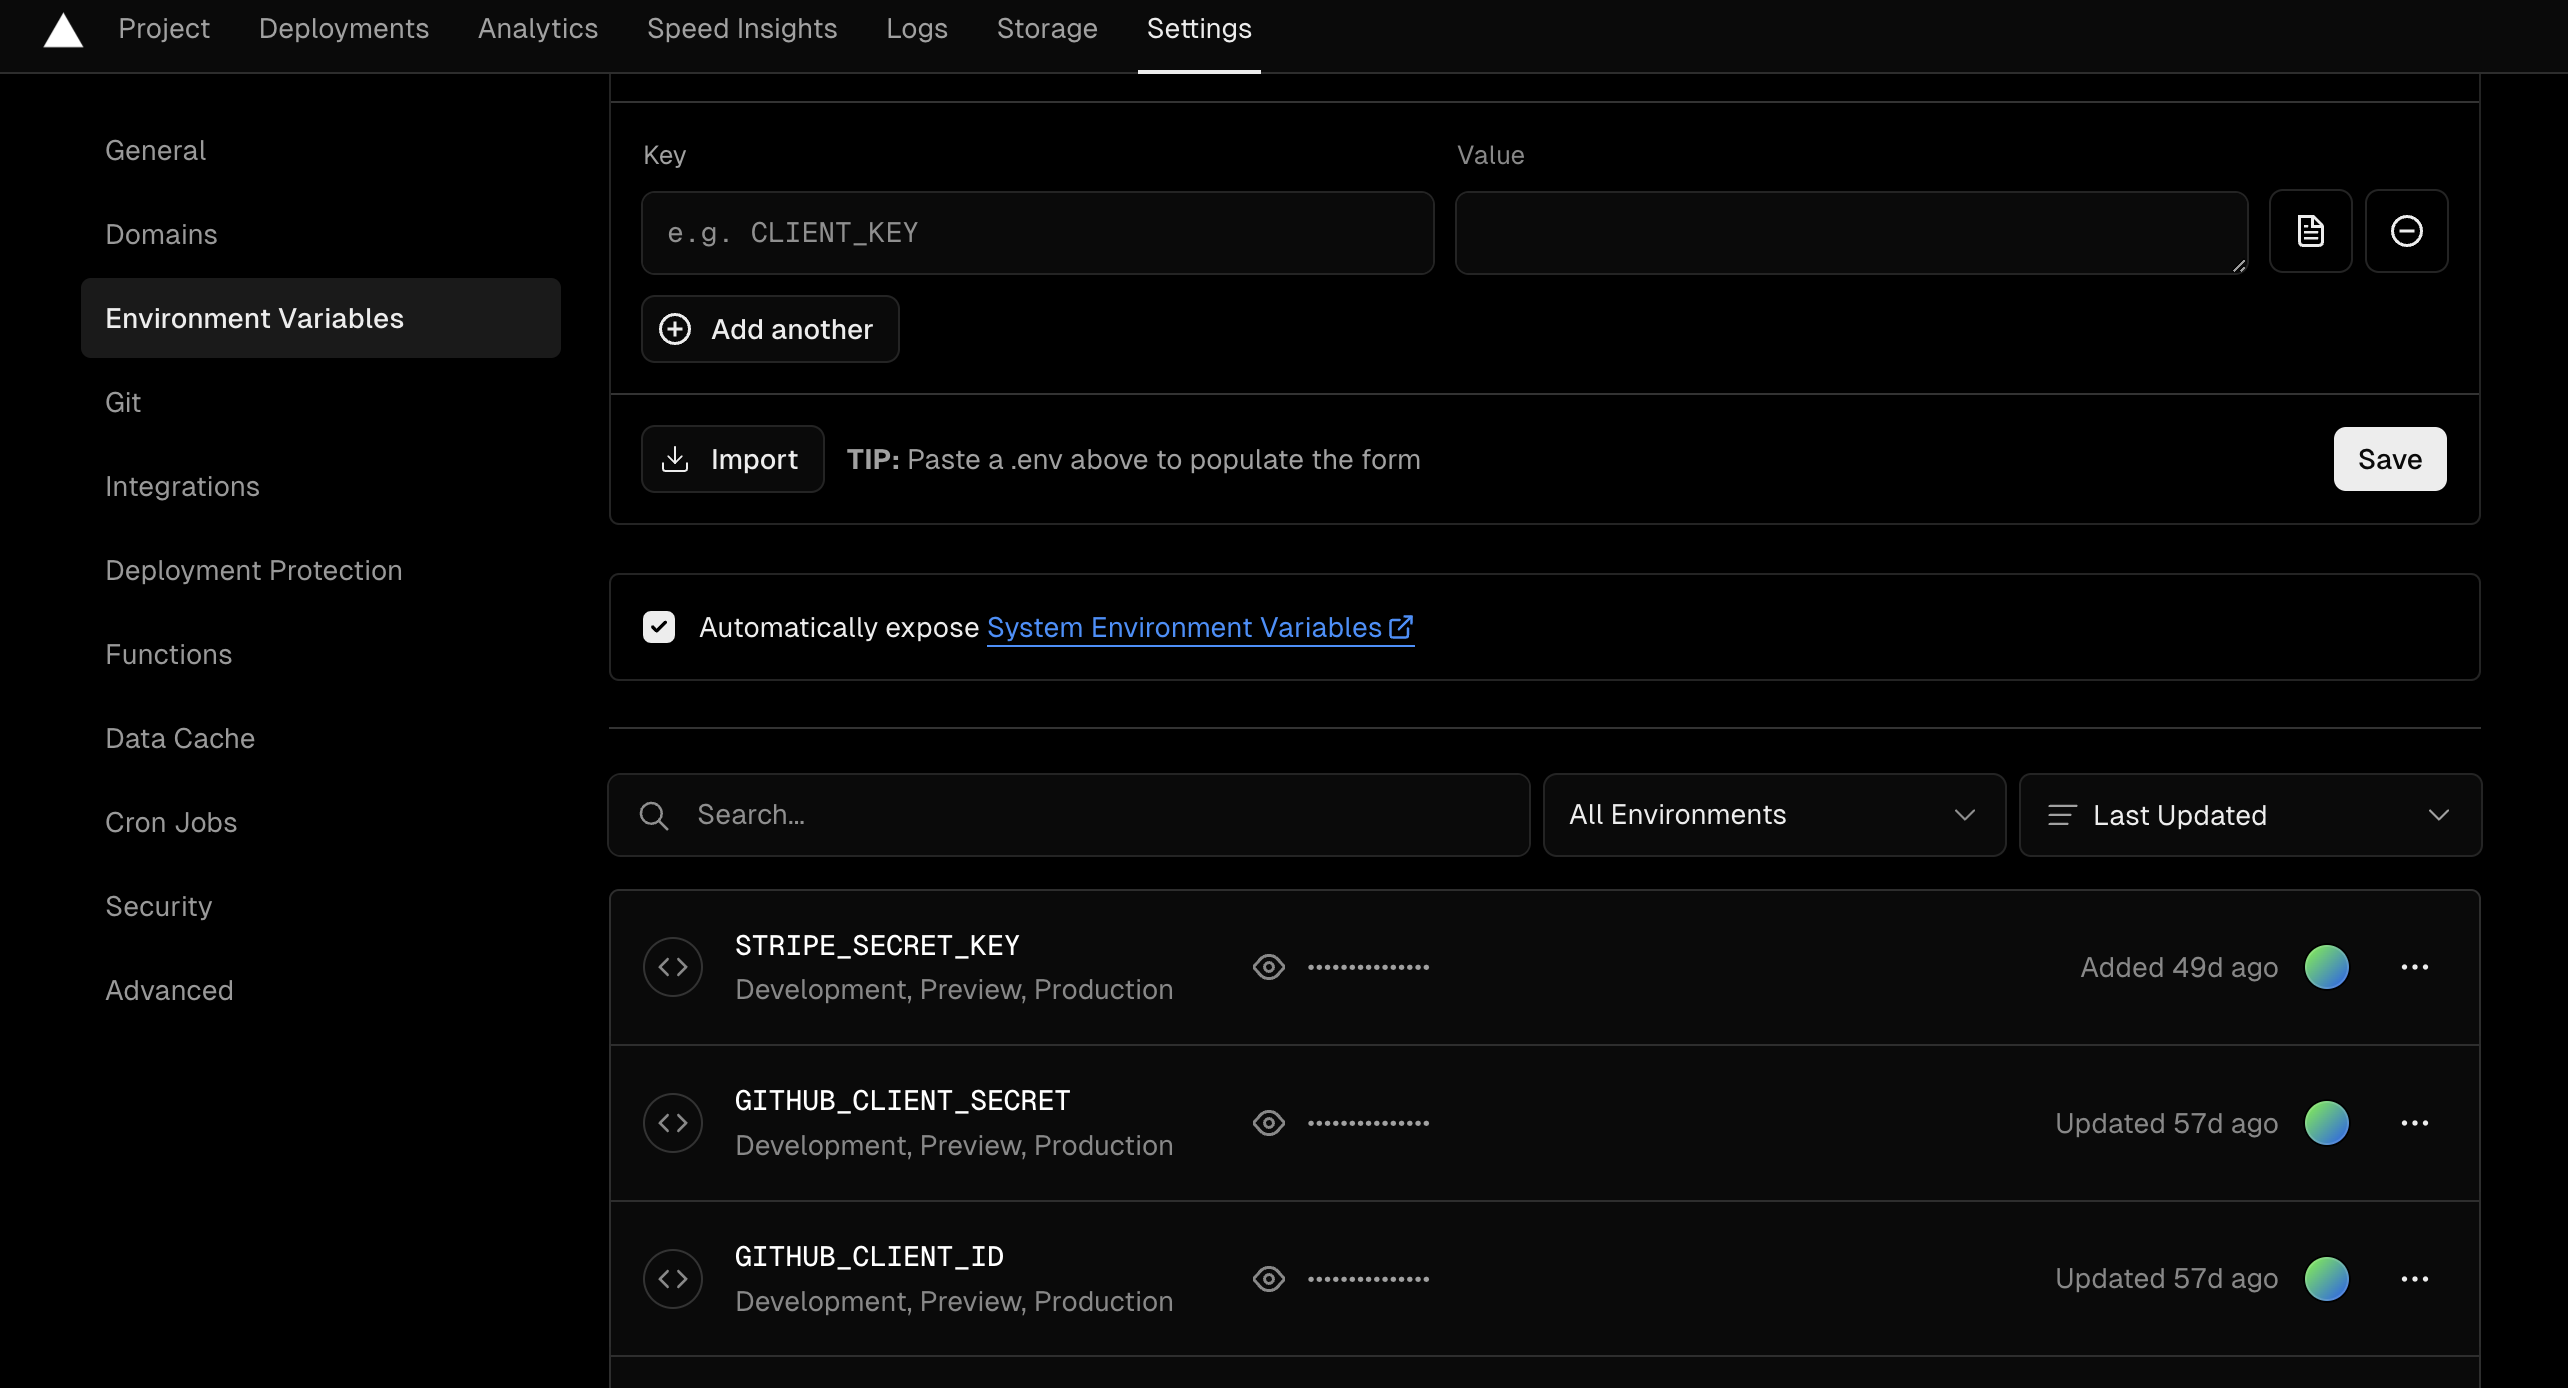
Go to Settings of your project in Vercel.
In the left sidebar, find Environment Variables.
Fill in the variable names and values from your local .env file here.
Configure Domain
When you start a Vercel project, Vercel will assign you a URL. If your SaaS platform has its own domain, you need to point it to this URL. This requires some settings in both your domain provider and Vercel.
If you encounter any issues, here is Vercel documentation.
Automatic Deployment
Now your local system is completely integrated with the official platform.
Local -> GitHub -> Vercel
So, when you test your program locally and commit it to GitHub, it will automatically deploy to Vercel.
Because the program is automatically deployed to the official platform when it is committed to GitHub, you need to plan your commits carefully. It is recommended to create a branch on GitHub, so that when it is appropriate to release, merge the branch into the main branch to complete the release.